
Office renovation hoarding
Illustrative setup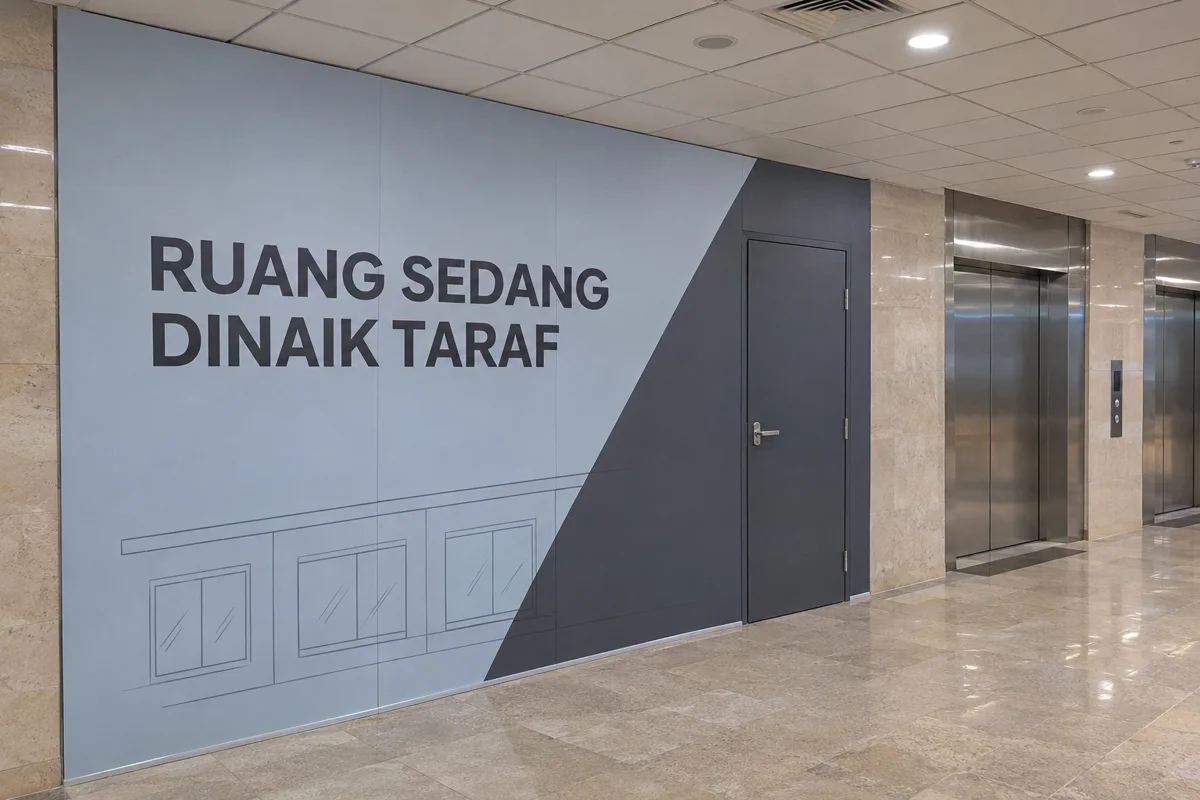
Screen an occupied office floor, reception or lift-lobby refurbishment in Malaysia. Agree temporary walls, contractor access, tenant movement and reinstatement before work begins.
Office renovation hoarding
Illustrative setup
Office renovation hoarding
Illustrative setup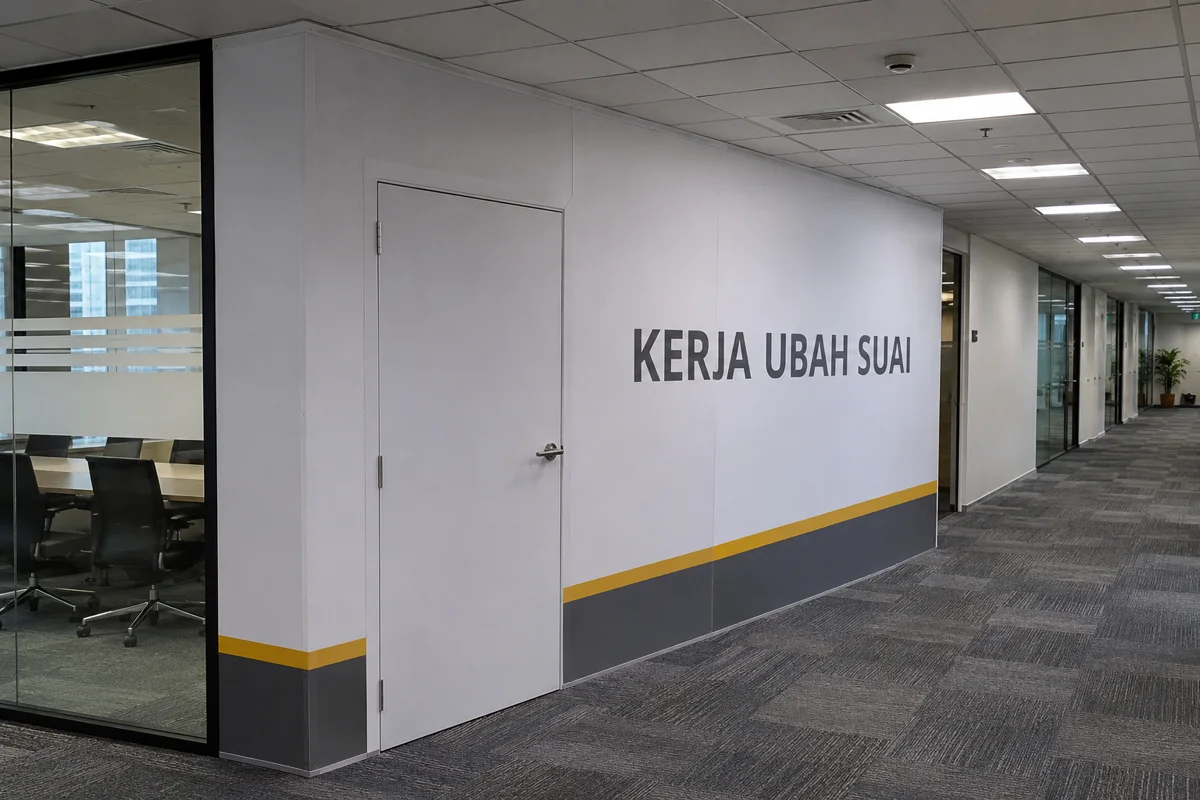
Office renovation hoarding
Illustrative setup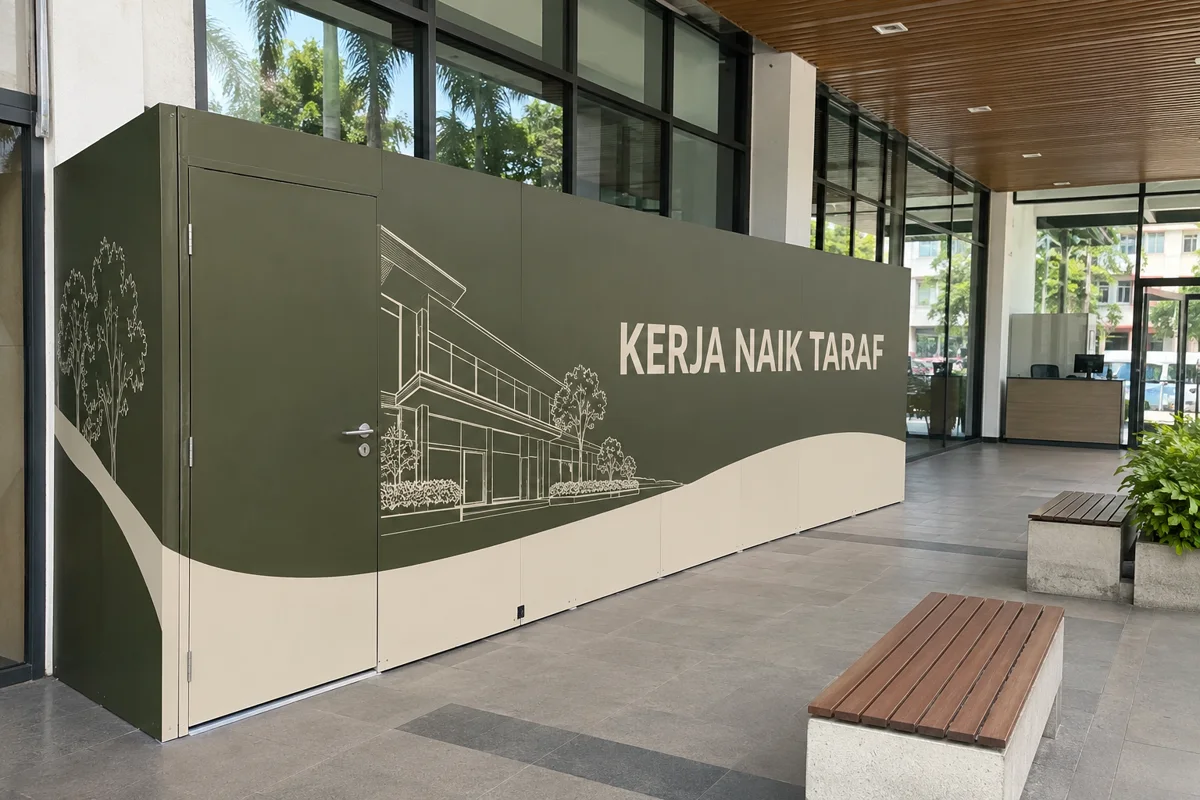
Confirm the freight lift and loading bay booking, permissible work window, contractor check-in and carrying route. Compare panel sizes with lift openings, corridor turns and protected finishes before they go into production.
Have the building team review any effects on exit routes, door swings, electrical services, alarms, sprinklers and ceiling access. Mark the agreed work door and document who authorises a change in the layout.
Photograph stone, glass, carpet tile, ceiling grid and nearby door frames before the first delivery. Agree where temporary fixings and protective sheets can go and how the contractor will make good.
Plan the date for signage updates, final removal and cleanup. Put the tenant’s inspection and required reinstatement on the same quote so there is a clear point for returning the space.
A 9 m wall at 2.65 m high has 23.85 m² of gross face. Add the measured return separately if required. Check the work-door opening on a plan with the lift lobby, waiting space and guard desk before agreeing the final wall line.
Start with the open offices, exits, lift access and accessible routes. Ask the building and tenant teams to approve the work partition, service door, noisy work windows and revised circulation for each phase.
Have the installer and building team agree independent supports and protection at the junction. Record how the glass, frames and adjacent doors will be protected.
Discuss noisy work windows with the tenant. If a defined sound reduction is required, ask for an acoustic assessment of the proposed wall, access door and sound paths through the ceiling and services.
Yes. Show the location, removal date and restored finishes for each phase so lifting, disposal and handback can be priced accurately.
Cover a Malaysian mall fit-out, kiosk refurbishment or indoor renovation with approved plywood or MDF hoarding, a work door and neatly stretched printed tarpaulin.
Separate an active bank branch, ATM lobby or shoplot frontage from renovation work. Prepare a measured temporary partition, controlled service access and customer notices the branch can update.
Plan meeting rooms, quiet workspaces and office divisions. Compare glass, drywall and demountable systems in a single site brief.
Price partition removal, floor and ceiling making good, and landlord handback for a Malaysian office or retail unit at the end of a lease.
Compare what office partition, temporary event room and exhibition booth quotes cover. Use the checklists to prepare a clear scope.
Start with the location, rough measurements and the date you need the space ready.